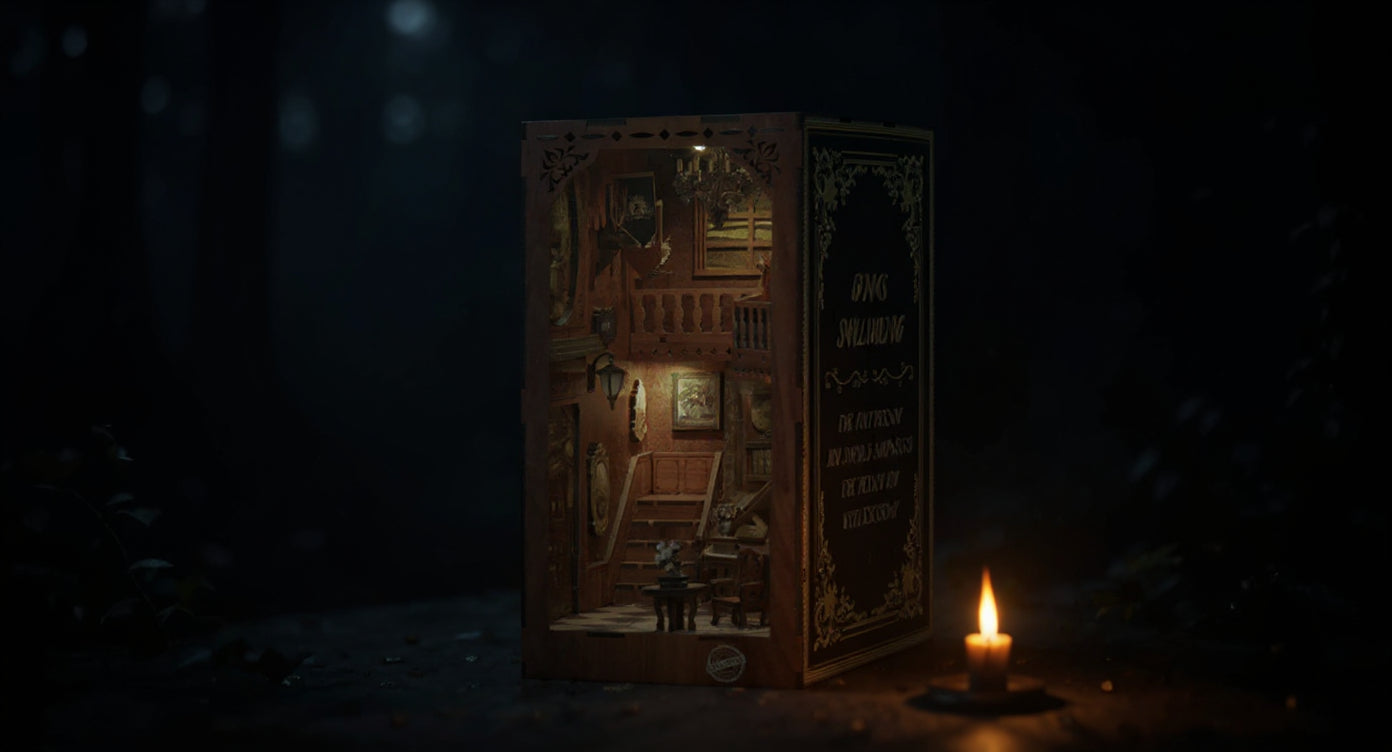


A small street café with a flickering lantern, an enchanted passageway between bookshelves, or a miniature train station with lovingly arranged details. These small miniature worlds, measuring just a few centimeters, are very much in vogue right now, making it tempting to create your own book nook. You can either use kits that already contain all the materials you need, or simply build your own fantasy Book Nook world.
In this guide, we will show you step by step how to build your own book nook—from the initial design to the final LED.
DIY Nook Book vs. Set: Is it worth building a diorama yourself?
The first step toward creating your own book nook is to answer the question: how much time and effort do you want to invest in building your miniature world? Both building it yourself from scratch and purchasing a ready-made set have their appeal. We are happy to provide you with a little help in making your decision below.
Ready-made miniature worlds as a set – an easy introduction for beginners
Book Nook sets are a great solution, especially for beginners. The kits usually contain all the necessary parts—from laser-cut wooden panels and paper elements to the appropriate lighting and assembly instructions. The advantage is obvious: you don't have to worry about scale, perspective, or material composition. You are guaranteed to get a great first result and gain experience that you can then use later for a diorama you design yourself.
The Book Nook "Romantic Venice," for example, is an ideal starter set. It contains approximately 110 easy-to-handle pieces, and it only takes about 2 to 3 hours to complete your first miniature world.
Advantages of building your own – design your own unique piece
If you already have some experience with miniature worlds, then you can try your hand at creating your first diorama.
In fact, according to a recent survey, 78% of our customers already have DIY experience in creative hobbies such as sewing, diamond painting, or model building, making them even more likely to venture into their first Book Nook project.
A self-built book nook gives you creative freedom that no kit can offer. You decide which theme to use—perhaps a scene from your favorite book or a personal experience—which colors and materials to use, and what the perspective of your miniature world should look like.
All you need are creative ideas, craftsmanship, and, of course, a little patience. Even though it takes significantly more time, you will end up with a model that you have planned and built yourself from scratch.
By the way, here's an interesting fun fact from our survey: 35% of our customers originally bought their first Book Nook as a gift—many then keep it for themselves or order a second one right away.
Inspiration: What designs can you create?
When building your own book nook, you can let your imagination run wild. It's particularly exciting to turn personal memories or experiences into a miniature world. You can find further inspiration in online communities or on social media, such as Pinterest.
- A vacation spot that has stayed with you—e.g., a café in Paris or an old town alley in Lisbon.
- Your childhood: your memories of your childhood bedroom, the playground outside your door, or another place that you associate with something.
-
Special occasions: a friend's wedding, a festival, a move, or the first day of school
-
Favorite hobbies: a mini studio, a music room, a theater set, or a library
-
Fantasy worlds: self-invented cities, enchanted forests, fairy-tale scenes
- Everyday scenes with a personal connection: a train station waiting room, your favorite bakery, or the bustling square where you can get your favorite ice cream.
It is precisely these individual themes that make a self-built book nook so appealing. They tell your personal story. In a survey of our customers, many shared how emotionally connected they are to their book nooks.
"A glimpse into a small world where you can lose yourself," wrote one user—which aptly describes the appeal of such scenes.
You will need the following materials and tools for your diorama
Once you have decided to design your own book nook from scratch, gather all the materials you need. Unlike with a ready-made set, you will have to purchase all the components yourself. Many materials are readily available online, but you can also find them in craft stores or hardware stores.
Depending on the scene and complexity, the following materials are usually on the shopping list:
1. Basic materials
- Plywood sheets (2–4 mm thick)
- Sturdy cardboard or craft boards
- Wooden slats, round timbers, sticks
- Optional: Plastic sheets for windows or smooth surfaces
2. Adhesives and paints
- Wood glue for pure wood elements
- All-purpose adhesive or transparent craft adhesive (e.g., B7000) for mixed materials
- Acrylic paints in various shades
- Brushes in several sizes for fine details
3. Tools and aids
- Cutter or craft knife
- Ruler and cutting mat
- Tweezers for small parts
- Sandpaper or file for edges
- Optional: Mini screwdriver set or fine-tipped pliers
4. Decorative elements and lighting
- Miniature furniture and figurines
- Fabric remnants for curtains or carpets
- Paper for wallpaper, posters, signs
- Small plants, lanterns, accessories
- LED strips, mini LEDs, or light modules with battery box
Build your own book nook: from planning to finished miniature marvel
Unlike ready-made kits, which come with detailed instructions for each step, when you build your own diorama, you develop it entirely without a template. But for many people, that's exactly what makes it so appealing. To help you succeed, we'll show you step by step how to design and build your own Book Nook, from the initial sketch to the finished miniature marvel.
Step 1: Sketch and preparation
First, make a preliminary sketch to put your desired motif down on paper. Sketch out a rough idea of how you want your book nook to be structured. Draw the floor plan, mark the back wall, side walls, and special elements such as windows, shelves, or stairs. Make sure you use a consistent scale, e.g., 1:12 or 1:24, so that the proportions are correct later on. You can also search the internet for templates of existing book nook projects and use them for inspiration.
Tip: For your first diorama, avoid adding too many details so that you can get a feel for how a book nook is created.
Step 2: Cutting and color design of the components
Once you have completed your true-to-scale sketch, you can start cutting. Transfer your measurements onto plywood (2–4 mm thick) or sturdy cardboard and use a fine fretsaw, cutter, or scroll saw to cut the pieces. You can then paint the components with acrylic paint—this is easier to do before they are assembled. The more shades, details, and surface textures you incorporate, the more authentic your book nook will look later on.
Step 3: Build and secure the basic structure
Now connect the base, walls, and intermediate parts to form a stable frame. You can either glue them together or slot them together. The best adhesive to use is B7000 glue: it can be applied with pinpoint accuracy, adheres to wood, plastic, and paper, and dries transparent. Check the stability after each step before continuing with the next section.
Step 4: Add decorations and details
Now that the base is complete, it's time to get creative. Add furniture, figures, and decorative elements to the scene. Many items are available as accessories from model shops, such as miniature chairs, lamps, plants, and books. Alternatively, you can make them yourself. You can create lots of unique objects from scraps of wood, wire, fabric, or paper.
Step 5: Install lighting
Finally, add the lighting. You can use either LED strips or small individual LEDs powered by a battery compartment. Position the light so that it creates atmospheric background lighting. Make sure that the power source remains accessible for battery replacement and that no cables are visible.
Tip: If you want to give your model extra protection, you can cover it with a plexiglass sheet to keep dust off or seal the outer surfaces. This will make it easier to keep your Book Nook clean later on.
How long does it take to build a book nook?
Unlike a Book Nook Set, which usually only takes a few hours to complete, you should plan at least one day for the entire DIY project. Just creating the sketch usually takes several hours if you develop it entirely yourself. More complex scenes with multiple levels, moving parts, or homemade electronics usually take several days to complete and are a nice project that you can work on from time to time. Many crafters find that crafting helps them slow down and relax. One in three customers surveyed said that crafting the Book Nook was a mental break: "You forget about time" was one of the most common statements.
Build your own book nook: Tips and tricks for beginners
To ensure that you are completely satisfied with your first homemade book nook, it is worth taking a look at a few tried-and-tested basic rules. When building something yourself, it is easy to get lost in the details—or to take on too much on your first attempt. The following tips will help you avoid typical mistakes and successfully create your first diorama step by step:
- Start with a simple scene: Choose a small and clear subject that does not have too many details.
- Observe scale: Maintain the scale you have specified throughout—this applies in particular to the subsequent addition of furniture, lanterns, etc.
- Design components before assembly: Paint walls, floors, and scenery pieces before installing them.
- Working with double-sided adhesive tape: Use double-sided adhesive tape for temporary fixings during craft projects or for positioning small objects, as it can be easily removed again afterwards.
- Light your workspace well: A bright table lamp or even a magnifying lamp can be helpful, especially for detailed work.
And another important tip: especially with your first project, it's more about enjoying the crafting process than achieving absolute perfection. Take your time and don't set your standards too high.
Tips for cleaning and care: How to keep your Book Nook looking good for a long time
You've put a lot of effort into your Book Nook, and with every idea and every hour of work, its sentimental value has increased. This makes it all the more important to give it some attention on the bookshelf later on.
Dust is the biggest enemy of delicate miniature scenes. To avoid damaging sensitive parts, you should always clean them with care. A soft brush—such as a cosmetic or model-making brush—is ideal for carefully removing dust from small objects or corners. For larger areas, you can also use a compressed air spray on a low setting. Avoid using damp cloths or cleaning agents, as they can quickly cause delicate materials such as paper or wood to swell or discolor. If you want to protect your Book Nook from dust in the long term, you can consider covering it with a suitable acrylic cover or glass case.
Also, make sure to protect the diorama from direct sunlight—UV light can fade colors or make adhesive joints porous. Rooms that are too humid are also unsuitable, as wooden components can swell or warp.
Conclusion: Start your first Book Nook craft project now
Building your own book nook is more than just a creative craft project. It's a little journey into your fantasy world, which you can design entirely according to your own taste. If you're diving into the miniature world for the first time, it's worth starting with a ready-made set. This will give you some initial experience with the materials, proportions, and techniques—and you'll quickly achieve good results.
Once you feel more confident, you can implement your own ideas: a scene from your favorite novel, a memory of a special place, or an imaginative dream world. You determine the pace, theme, and details—and turn a few wooden panels, some light, and a lot of creativity into a truly unique piece for your bookshelf. Whether you start with a kit or get started right away, the world of Book Nooks offers you endless possibilities to express yourself.
We hope you enjoy designing your first Book Nook.